Obtain Templates for Data Import
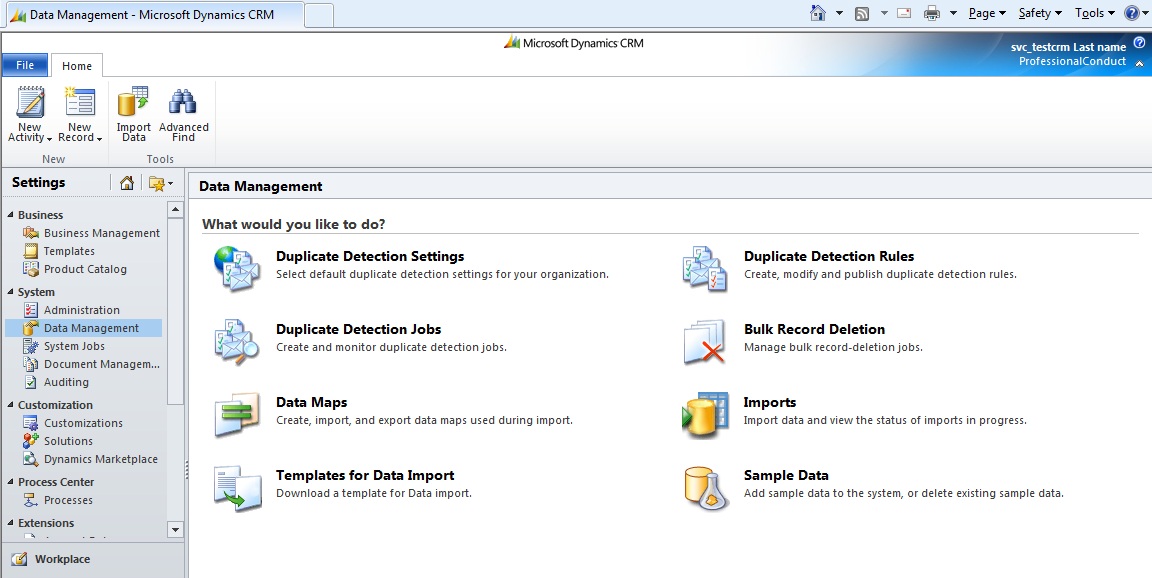
First we need to extract the data import templates for contact and note. Navigate to settings -> Data Management:
Click on “Templates for Data Import"
Here we can export the desired templates to fill out the data. Create a folder in your hard drive and call it “Import”. Select the “Contact” entity and click on Download and save the template in the folder you have just created.
Repeat the previous steps and download data import templates for “Note” entity and save it in the same folder where you have saved your “Contact” data import template.
Prepare the data for import
Open the “Contact” data import template and fill out the contact information. Note that the columns in bold are mandatoryfileds on contact form:
Save the photo of the contact in the “attachments” folder.
The last thing is to fill out “Note” data import template. Open the template, fill the regarding section as full name of the contact and the file name just same as the file name of the contact in the “attachments” folder
Add another column to the template, call it “Document” and copy the filename
Here we have linked our contact to the note and to the photo which we have stored in “Attachments” folder.
Create a zip file for importing the data
Select all the files inside the folder (including subfolders) and create a zip file and call it Contact.zip
Importing to CRM
Open CRM and navigate to workplace > Imports
Click on the data import in the ribbon
Select the Zip file you have created earlier
Choose the default mapping and try to sort out any possible mapping issues
Click on next.
After a while (check the Imports section of your CRM to ensure the import was successful) you should see your contact!


No comments:
Post a Comment